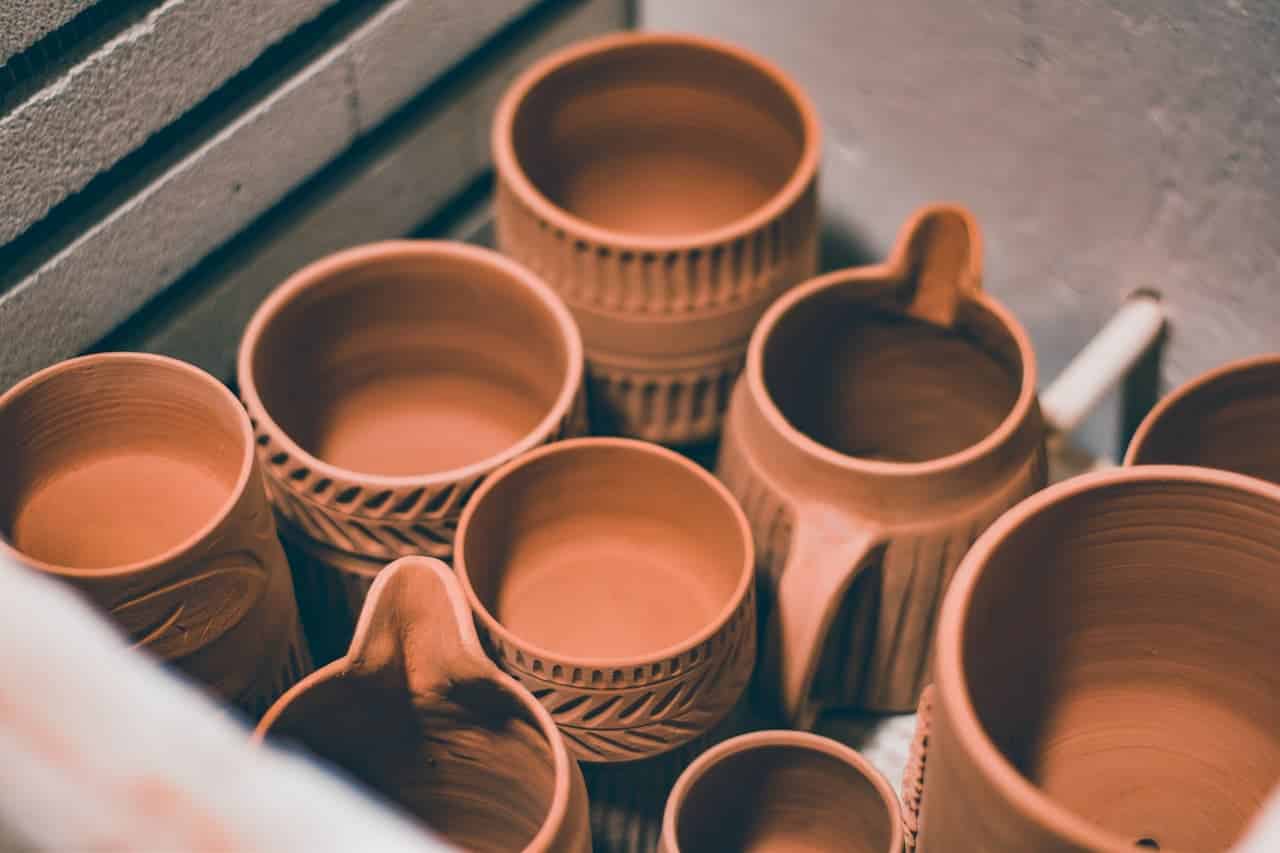
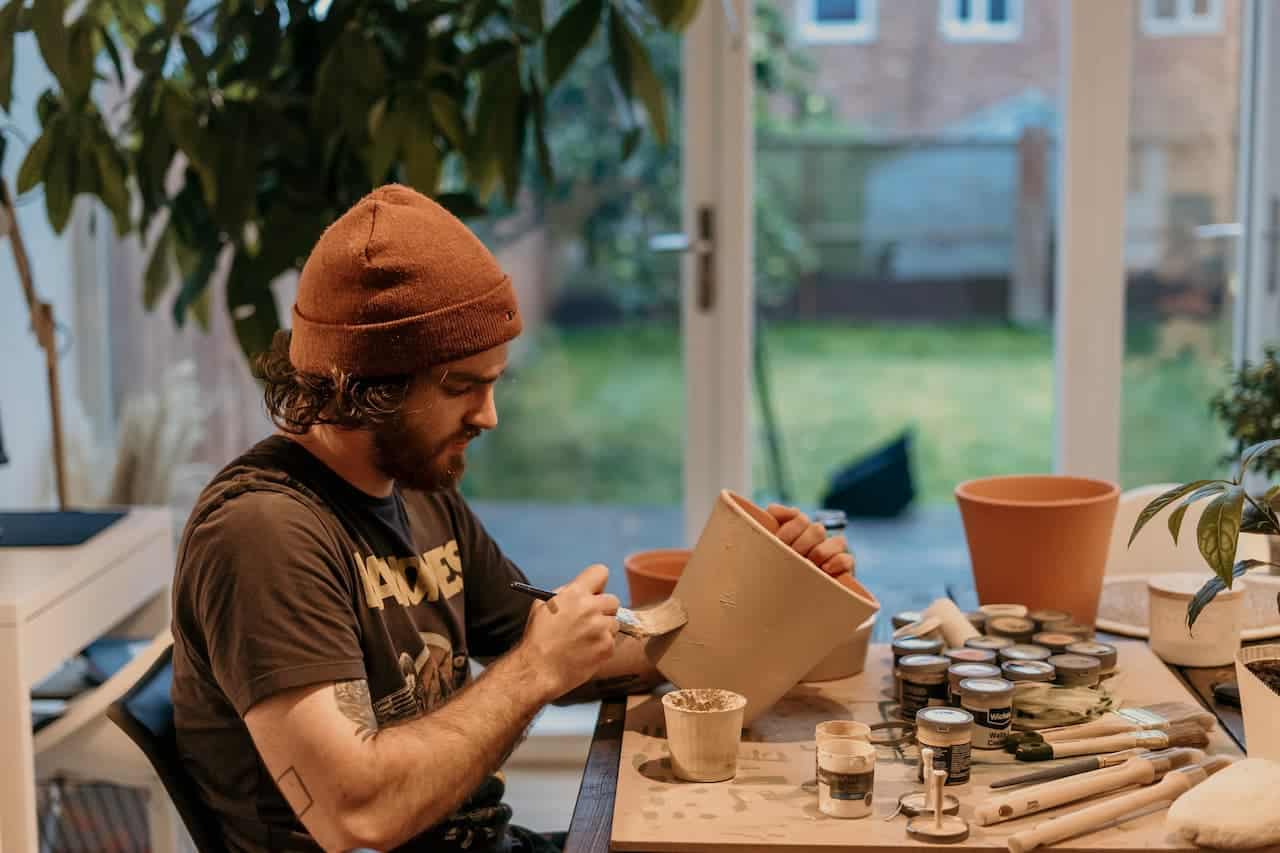
Terra-cotta is fantastic, but too much of it might be monotonous. When modifying the look of terra-cotta pots, I age them by spraying them with buttermilk and moss solution to induce moss growth which takes time, but if I want a quick result, I paint them. My love for painting clay pots started years ago while working in a craft store and nursery. It’s a cheap and easy way of beautifying your garden and also an incredible way of customizing a plant gift.
For me, the best part of painting clay pots is coming up with classy designs. Over the years, I’ve drawn inspiration from people, things, and places around me and established a few personal design guidelines. For instance, I rarely use green except I have a particular look in mind when the pot is combined with a plant. I discovered that the green pot clashes with the green plant. Also, less intricate designs get lost on a floor plant or large container planting pot. I reserve intricate designs for pots that will be seen at eye level.
One of my favourite designs is based on the night sky. It’s mysterious, intriguing, and a good foil for almost any plant. Old gold-leaf picture frames inspired another design I like. I love the look of the overlapping layers of gold with the red base colour showing through.
For variety, I sometimes use a top coat of black paint instead of gold and scratch off a bit of the top layer to expose the red beneath. When I want a simple treatment, a thin wash of colour that lets the terra-cotta show through is all it takes to make a pot shine.
When it comes to painting pots, designs are limitless. Painted pots look better for years with minor fading, even outdoors. They can’t survive freezing, so bring them in when it gets cold.
The art Supplies you’ll need:
- Clean terra-cotta pots
- Acrylic craft paints (Assorted colours)
- Small or medium foam brushes
- Cotton swabs
- Clear spray acrylic
- Small artist’s paintbrush
- Plastic plates
- Wire brush
How To Paint the Pot
1. Start by preparing the pot
Remove price tags and stickers from the pot by soaking it in warm water for an hour, then scrubbing it with a stiff brush. Allow the pot to dry completely before painting.
2. Apply the base coat
Add the base coat paint on a plastic plate, and adjust the colour with other shades if desired. Thin the paint with little water to coat the pot evenly without stress. Apply the paint with a foam brush, then paint around the pot in broad sweeps. Extend the paint about an inch down to the pot’s top, but don’t cover the bottom. It should be left clear for optimal drainage.
The pot will absorb lots of paint. Apply additional coats if you desire, but allow the pot to dry between coats until the desired colour depth is achieved.
3. Start decorating
For Celestial pot design:
Once the blue base coat has dried, choose a colour for the stars (I prefer gold, silver, or pearlescent white). Use a cotton swab to apply a generous dot of the paint on the side of the pot.
Draw the paint from the middle with a small artist’s brush to create the star-burst effect. Start with the longest rays, and finish with the shortest so that you have enough paint for each. I like ending each ray with a tiny dot of paint to ensure the stars sparkle.
Make more stars at random spots on the pot until you’re satisfied.
For Antique gold pot design
Once the red base coat has dried, apply staggered patches of a muted antique gold shade with a wide foam brush. Don’t dilute the gold paint in this step because the undiluted paint won’t be even, leaving streaks that will allow the base colour to show through, emulating gold leaf.
After the first set of patches is dry, overlap them with extra patches to cover the entire pot.
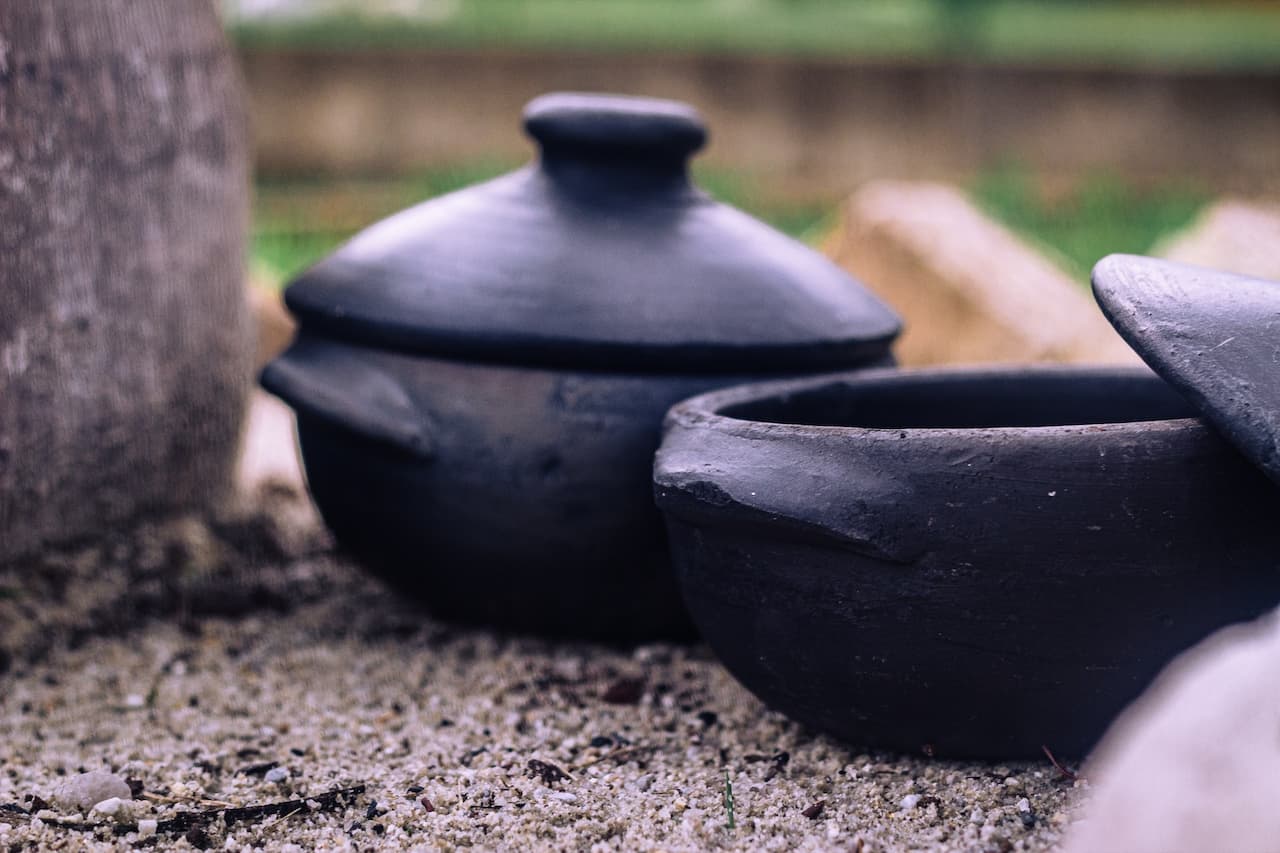
For Rich black pot design
Once the red base coat has dried, apply a thick coat of undiluted black paint, covering the base colour on the outside surface of the pot.
Before the black coat dries completely, use a stiff wire brush in broad, lightly sweeping around the pot, scratching off just enough of the top coat to reveal the red colour below.
4. Lastly, seal the paint
After the finished pot has dried completely (it might take several days, as the drops of paint on the celestial pot are much thicker than a coat of paint), apply two coats of clear water-based spray acrylic to seal the paint and protect the design from scratches.
This layer also makes cleaning soil from the outside of the pot easier. I suggest a matte finish, which is less distracting, instead of a shiny finish and intensifies the colours of the pot.
5. A pot with character in five minutes
The fastest way of dressing a pot is by applying a thin colour wash. The colour wash (half paint and half water) enables the terra-cotta to show through.
The effect is subtle but pleasing.