


HOW TO MAKE YOUR OWN TIN LID BIRDS UPCYCLE

I have a fun project to share.  This is one of those projects that just kind of happened.  Sometimes my projects that just happen don’t go so well, and others. . .well, you be the judge.

I love this little tin can lid bird!

If handling a tin can lid scares you, you can substitute a canning lid or use a can opener that doesn’t leave sharp edges.

Tin Lid Bird Upcycle Birds In A Row 2

I gained some inspiration for this project when I saw the cute denim bird that my friend and fellow blogger Beverly @ Across the Blvd. made for her burlap and denim wreath.   It is so cute and you can see her project HERE.

I looked around my craft supplies, and I found a stash of tin can lids.  I  knew I’d think of something to do with them eventually!   I couldn’t resist doing a little embossing with the wings.   I made the birds and then wondered how I was going to display them.

I turned back to my supply stash.   I was determined to start and finish this project in an evening.   I found some beautiful paper and thought about using it as a background for the birds, but I didn’t have a frame large enough for all the birds to fit nicely into.  Then I spied some left over vinyl chalkboard contact paper and knew that I had found the solution.   Score!    Love a project that can not only be completed in one evening, but you also have everything you need in your craft supplies!

Here is a quick tutorial:

Supplies I used for this project:

  • 5 tin can lids
  • craft paint 
  • paint brushes
  • 38 gauge embossing foil
  • embossing stylist
  • aluminium foil
  • scissors
  • tooth picks
  • jewelry wire
  • silver spray paint
  • glue gun / glue sticks
  • foam board
  • vinyl chalkboard contact paper
  • brayer
  • Bistro chalk Markers
  • removable mounting squares
 
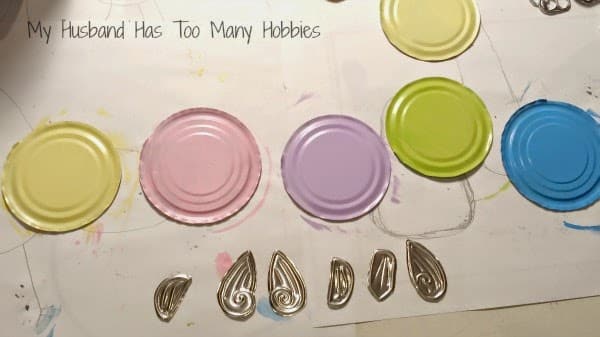
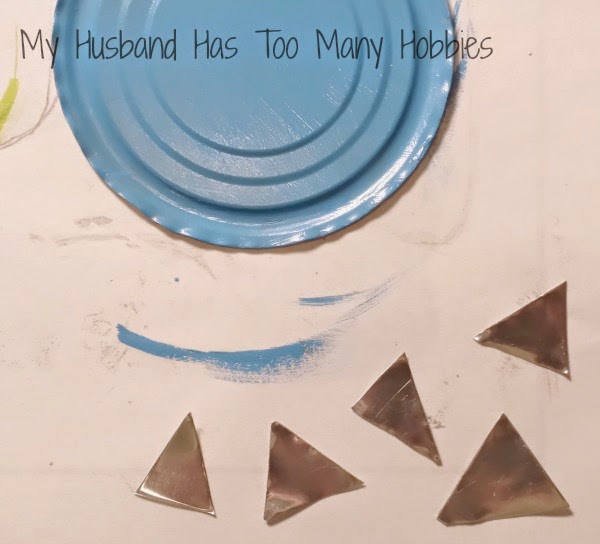
I painted each tin can lid a different color.  Then I embossed some wings.  (You can find info on how to emboss in Post 3 of my Basics of Embossing series found on the menu bar under Metal Embossing How-To).   I cut some beak triangles out of my metal scraps.  
Tin Lid Bird Upcycle Birds In A Row 3
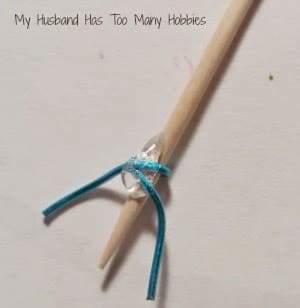
In order to make the bird feet, I took toothpicks and wrapped a small piece of jewelry wire at one end.  I secured it with a bead of hot glue.   I spray painted all of the bird feet with silver spray paint.
Tin Lid Bird Upcycle Birds In A Row 4
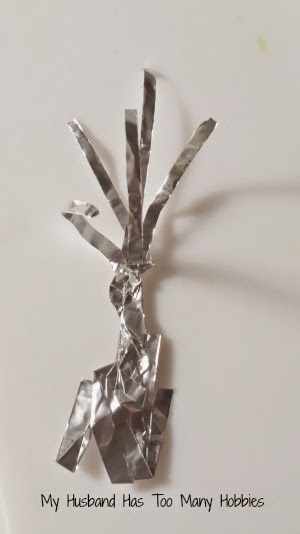
I had a few scraps of tin foil left over from my Shabby Easter egg project, so I cut some thin strips and made two tufts of hair for the larger birds.  I glued these to the back of the unpainted side of the lid.  Then I glued the wings and beaks on each bird.
Tin Lid Bird Upcycle Birds In A Row 5

While the bird feet were drying, I cut a piece of foam board to the size I wanted.  ( I always keep foam board in my supplies because we use it so often for school projects.)  

 
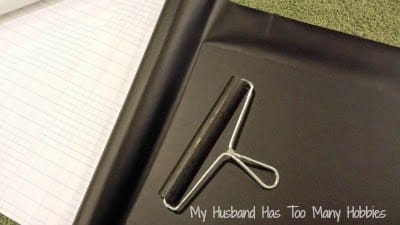
Using the brayer to smooth out the contact paper, I attached the chalkboard vinyl to the foam board. 
Tin Lid Bird Upcycle Birds In A Row 6
Once the bird feet were dry, I used the hot glue gun to attach feet to the unpainted side of the tin lids. 
 
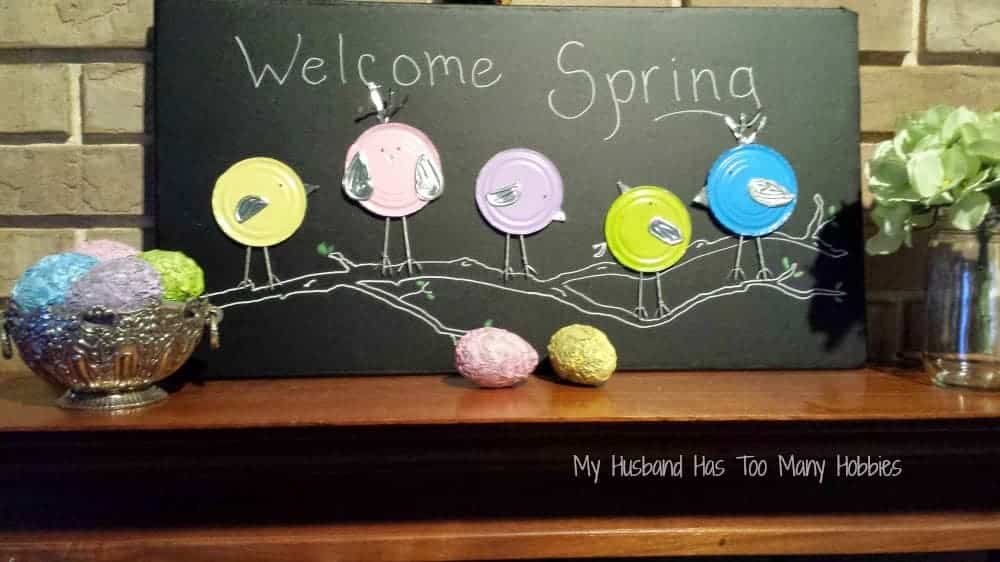
Using Bistro chalk markers, I drew a tree branch with budding leaves and wrote Welcome Spring across the top.
 
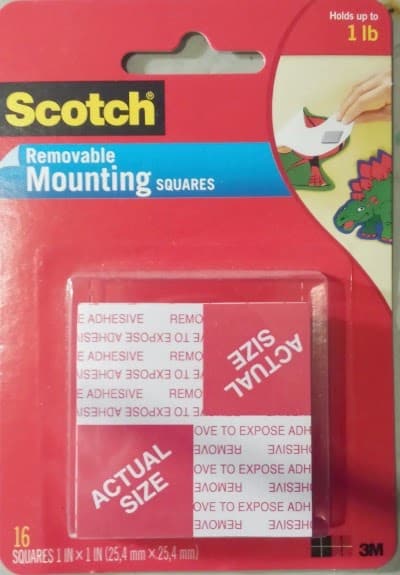
To finish, I attached a square of the removable mounting squares to the back of each bird and stuck them on the chalkboard.   I decided to use the mounting squares because I plan on using this chalkboard for other things and I figured I could remove these when I was ready to change things up.  
Tin Lid Bird Upcycle Birds In A Row 7
So I actually ended up with 2 projects in one.  I have cute spring display chalkboard  and I have a faux chalkboard that I can use to display other things!  
 
I have asked Mr. Hobby to make me a frame for my faux chalkboard – but I’m sure it will take a while.  Perhaps the frame will be finished and attached by the time I’m ready to re-make this chalkboard display into something else.  Hope so.  
Hope you have a great week and Thank you for stopping in!
Best Lawn Rollers
Buying Guides
Marcus Linden

Best Lawn Rollers

A lawn roller flattens lumpy lawns, presses new turf into contact with the soil, and helps level out frost-heaved or pet-disturbed grass. They’re not a routine-use tool — once or twice a year for new lawn establishment

Read More »
Best Lawn Dethatchers (Manual and Powered)
Buying Guides
Marcus Linden

Best Lawn Dethatchers (Manual and Powered)

Thatch — the layer of dead grass and roots between your lawn and the soil — chokes lawns by blocking water and air. A 1cm thatch layer is healthy; over 2cm and the lawn declines fast. A dethatcher rips out the thatch

Read More »
Best Manual Lawn Aerators
Buying Guides
Marcus Linden

Best Manual Lawn Aerators

A manual core aerator is the right tool for compacted suburban lawns where a powered aerator is overkill. They pull plugs of soil out, rather than just punching holes — which is what compacted lawn actually needs. Slow

Read More »
Best Lawn Aerator Shoes
Buying Guides
Marcus Linden

Best Lawn Aerator Shoes

Spike aerator shoes are the simplest, cheapest aeration option — strap them over your boots, walk the lawn, and let the spikes punch holes. They don’t do as much as a core aerator but for a 200sqm suburban lawn they’re

Read More »
Best Smart Indoor Garden Systems
Buying Guides
Rosa Calloway

Best Smart Indoor Garden Systems

Smart indoor gardens add app integration, automated watering, growth tracking, and (sometimes) AI-driven harvesting suggestions to the basic counter-top hydroponic. For people who want a kitchen herb supply without think

Read More »
Best Humidity Dome Propagation — Best Humidity Domes for Propagation
Buying Guides
Harriet Greenfield

Best Humidity Domes for Propagation

A humidity dome holds moisture around germinating seeds at 95%+ humidity, which is what most seeds genuinely want. The right dome is sturdy enough to last multiple seasons, tall enough to accommodate leggy seedlings, and

READ  Patriotic Felt Wreath
Read More »

Back to top button