
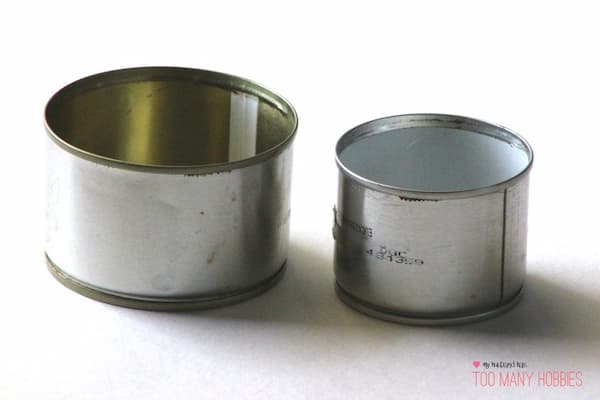
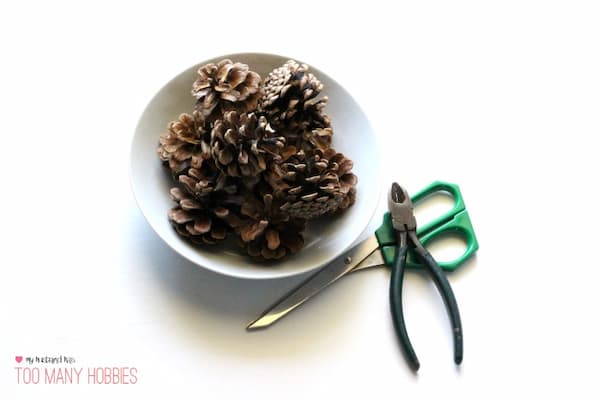
Supplies Used:
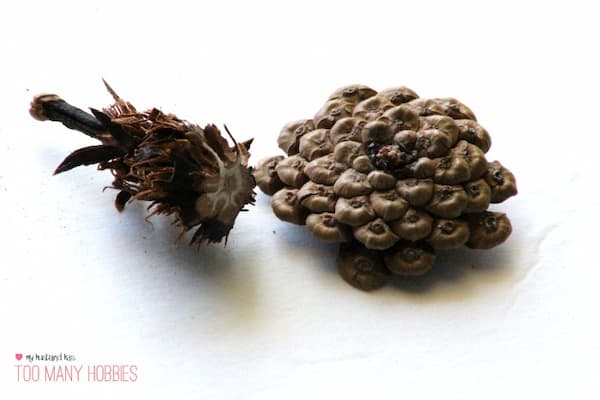
12 pine cones were used for this project. Depending on the size of the pine cone and tin can, you may need more or less. I found that a wire cutter and a pair of household scissors worked best to detach and trim the ends of the pine cone.
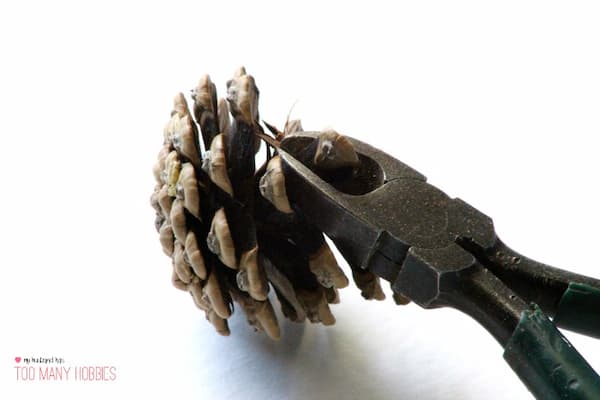
I used the wire cutter to basically get a hold of the tip, twist and cut. After trying several different methods, I found this was the easiest and the fastest, and what worked best for me.
I cut from the larger end of the pine cone (the bottom) and worked my way up as those tips were easier to get to. I left the smaller end alone. I asked Mr. Hobby to cut off the smaller ends to be used possibly for another project down the road. You can see I stripped the cones pretty well.
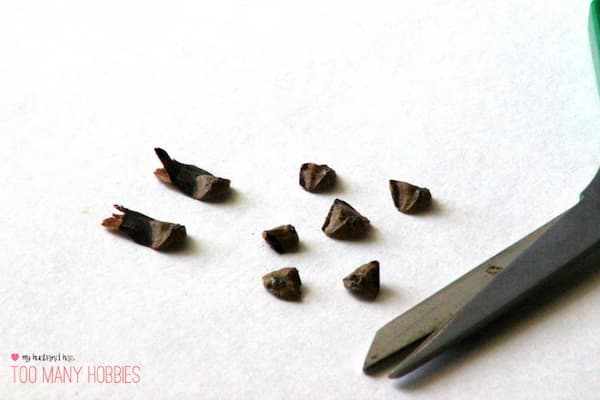
After I cut off all the tips, I used the scissors to trim them so I only had the end of the tips remaining.
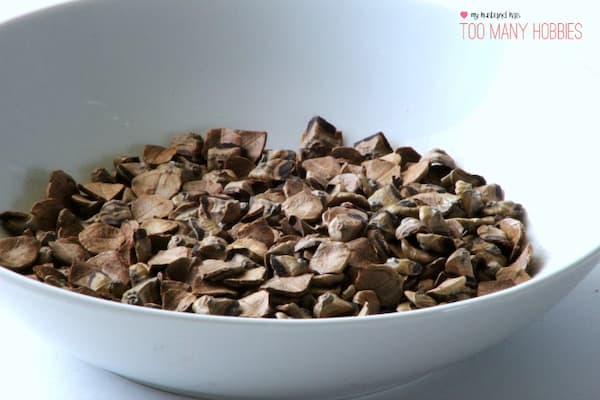
The process of pulling off the pine tips and trimming them took a couple of hours and was a little tedious until I got the hang of it. I ended up with a little less than 1/3 of a bowl full of pine cone tips. This was more than enough to cover the 3 tins I was using.
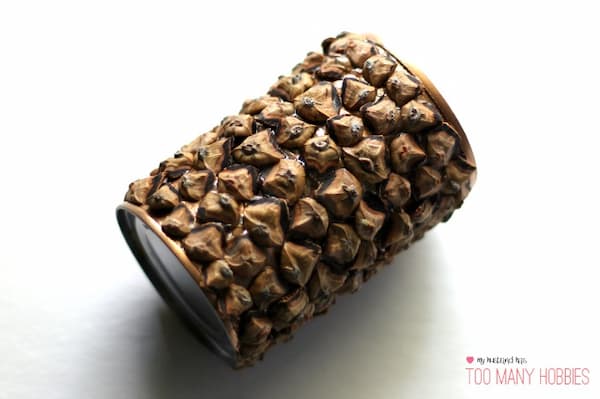
I planned on spray painting after the pine cones were attached to the cans, but if you would rather go for a natural look, then paint your can first. I painted one of the cans with a copper spray paint before gluing on the pine cone tips so I could show you what that would look like.
Let the glue dry 48 hours.
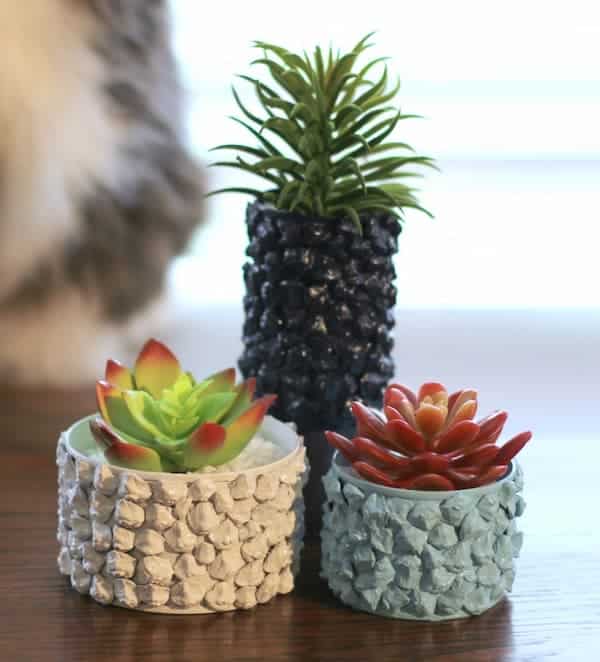
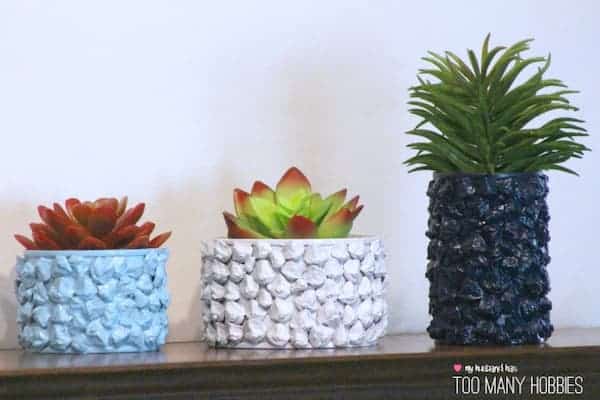
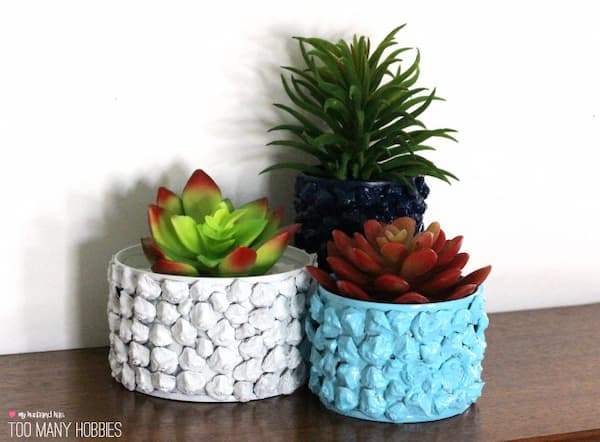
Mr. Hobby liked the ‘natural’ look best. I liked it too, but it was not my original plan. I wanted colorful textured planters, so I spray painted each of the cans with a gloss spray paint. It took 4 coats for good coverage. Allow each coat to dry fully before applying the next.
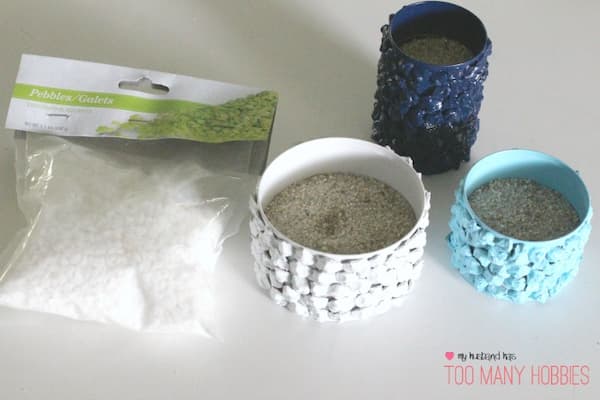
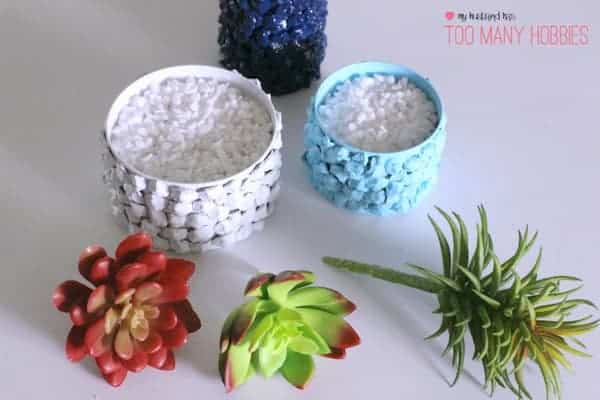
After the paint dried, I filled each can with sand to about an inch from the top. Next, I added little white rocks that I found at the dollar store.
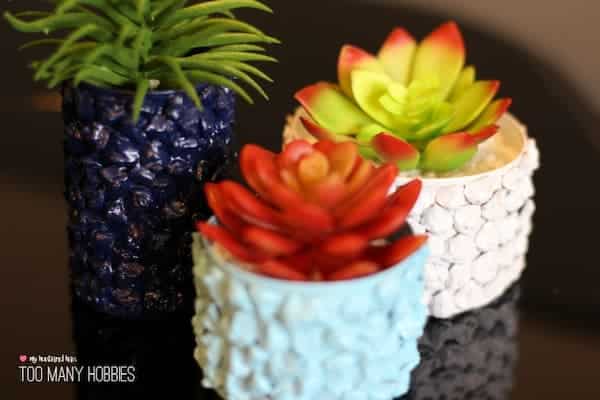
Then I inserted a plastic succulent into each can. I got these at the dollar store too.
I love how these turned out. Yes, they take a little time, but I thought it was worth it. I plan on making some natural ones as well.