Garlic is a crop that’s easy to grow and requires very little care. If you save a few heads from each harvest to plant the following season, you won’t have to purchase garlic ever again.
Garlic belongs to the Allium family, which includes onion, shallots and other ornamental Alliums.
Garlic is an excellent crop to keep your garden productive all year round. Garlic heads can last a long time if properly stored and cured, allowing them to be enjoyed in the kitchen for longer than other garden vegetables.
Garlic is a strong smell and taste that repels squirrels. They will avoid your garlic plants and even nearby vegetables.
It is easier and more practical to cultivate garlic cloves than to try to grow them from garlic bulbs (or garlic seeds, to be more precise). I will explain the process below.
Before we get into the specifics of how to grow garlic, harvest it and cure it, you need to understand how to choose the best garlic variety for your garden.
Choose Between Softneck Garlic and Hardneck Garlic
The stalks of the softneck and hardneck garlic varieties are what give them their names. Softneck garlic is characterized by pliable stalks, which can be braided to create an attractive display and for storage. Hardneck garlic stalks, on the other hand, are stiff, woody and unsuitable for braiding. The differences do not end there.
Hardneck garlic does better in colder climates, while softneck garlic thrives better in warmer climates.
Even though a soft-neck variety may be rated USDA hardiness zone 7-10, it doesn’t necessarily mean that it will do well in the most northern reaches of Zone 7. Alliums are also affected by the length of the day.
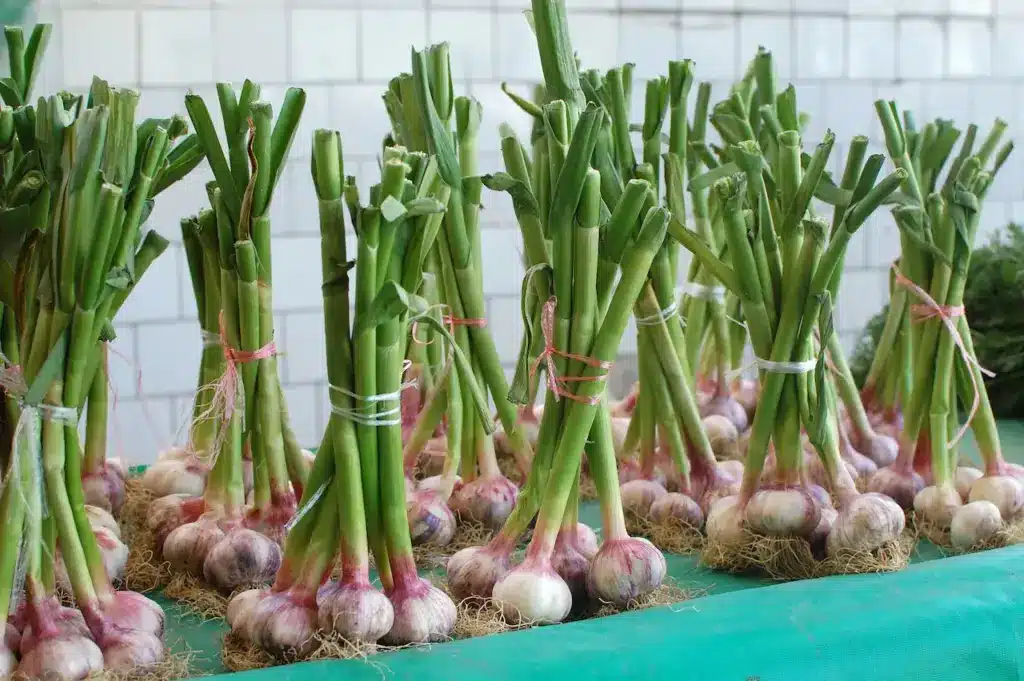
Hardneck garlic is likely to be pink or purple. While softneck (Allium Sativum Sativum) bulbs are usually white, the hardneck (Allium Sativum Ophioscorodon), tends to be all-white. Hardneck garlic has a stronger flavour than softneck varieties.
It is harder to distinguish between softneck and hardneck heads after the stalks are removed. Once you have broken apart the head, you will notice that the hardneck variety is the one with the stalk’s base running through it. A soft-neck garlic has no stalk.
Hardneck heads are larger and easier to peel than softneck heads. Softneck garlic has smaller cloves, even though it tends to be more plentiful per head.
In storage, softneck garlic is more durable than hardneck. Softneck garlic can be stored for up to six months, or longer (more about curing below). Hardneck garlic is usually only good for three to four.
A flower stalk called a “scape” is also produced by hardneck garlic. Garlic scapes can be considered a bonus crop. If left to grow in spring, the curly stem of garlic will blossom into a beautiful flower. This is not good for your garlic.
It’s better to remove the scape so the energy can be used for producing a bigger head.
You can enjoy the fresh scape for many weeks before you are ready to use the head of garlic.
You can use garlic scapes in a variety of ways. You can make pesto by chopping them up, or sauté them on the grill, add them to stir-fries, or add them directly into soups. Garlic scapes are a great substitute for green onion in any recipe. The texture of the garlic scapes is similar to asparagus. Its flavour is mild but unmistakably garlic.
Hardneck garlic varieties are categorized into three main categories: Rocambole (purple stripe), porcelain (Rocambole) and Asiatic (Creole).
The majority of softneck garlic varieties are classified as artichoke, silverskin or silverskin.
Elephant garlic, which grows to a large size, is another species and can be successfully grown in either the North or South. Elephant garlic, which is Allium ampeloprasum and not Allium sativum (which is the same species as pearl onions and leeks), is a different species.
Garlic – Where to Find it
Seed garlic is the name given to heads of garlic that are intended to be divided into individual cloves and planted.
Garlic that you buy at the grocery store comes from China or California. It may be suitable for your area, but it will depend on where you are located. You can grow garlic from grocery stores, but there are other ways to ensure success.
Look to local farmers and growers to find the best garlic for your area. Farmers’ markets or farm stands that sell locally grown garlic are great sources of garlic seed that will grow well in your area.
Try to find other gardeners who are willing to share with you a head or two of garlic from a particular variety they have been saving for years and growing with great success.
You can order seed garlic through a seed catalog or an on-line seed vendor . Be sure to check if the garlic you’re ordering is a softneck or a hardneck variety.
If you buy seed garlic from a reputable vendor, it should be free from pests and pathogens. But, wherever you get your garlic, check for signs of disease or damage before planting. Damaged garlic will not grow and it may even rot before producing a bulb. A diseased clove of garlic will not only die but will also introduce pathogens into the garden bed, and to the garlic that you have planted.
How To Water Garlic?
Avoid overwatering and underwatering garlic plants to achieve optimal bulb development and reduce stress on the plant. Plants can be stressed by too little water, while bulb rot can result from too much.
Garlic needs between half an inch and one-inch of water each week in soils with good drainage. If the rain is less than half an inch in a given week, you can make up for it by watering your garlic.
Water deeply but not often. Instead of watering every day, only water your plants once a week if rain hasn’t done it for you.
When the temperature outside is below freezing or the ground has frozen, you should stop watering the lawn until the temperatures and ground thaw.
You can stop watering hardneck garlic after cutting the scapes. Stop watering softneck garlic a week prior to harvest.
How And When To Plant Garlic?
Garlic is most commonly planted in October, but you can plant it earlier or later depending on your location.
Garlic cloves are best planted in the North during late September or early October. The planting should take place at least two weeks prior to the first frost. It must also be completed before the ground freezes.
You can wait until December, November or January if you live in the South. It’s better to plant early rather than later.
Garlic can either be planted in the ground or in raised beds. Garlic will grow and produce its biggest heads in soils that drain easily and are rich in organic material.
Do not fertilize at the time of planting, as this may cause a rapid growth that will be damaged by winter.
Knowing the composition of your soil’s nutrients is a great place to begin if you want to fertilize. This information can be obtained by a soil test.
Although it may seem natural to add nutrients best suited for bulb development and growth (phosphorus), these nutrients are often present in sufficient amounts already. In these cases, adding additional nutrients won’t make a difference.
Nitrogen is not as persistent in soils as phosphorus. Garlic needs nitrogen, particularly in the spring, for healthy foliage, which is essential for bulb development.
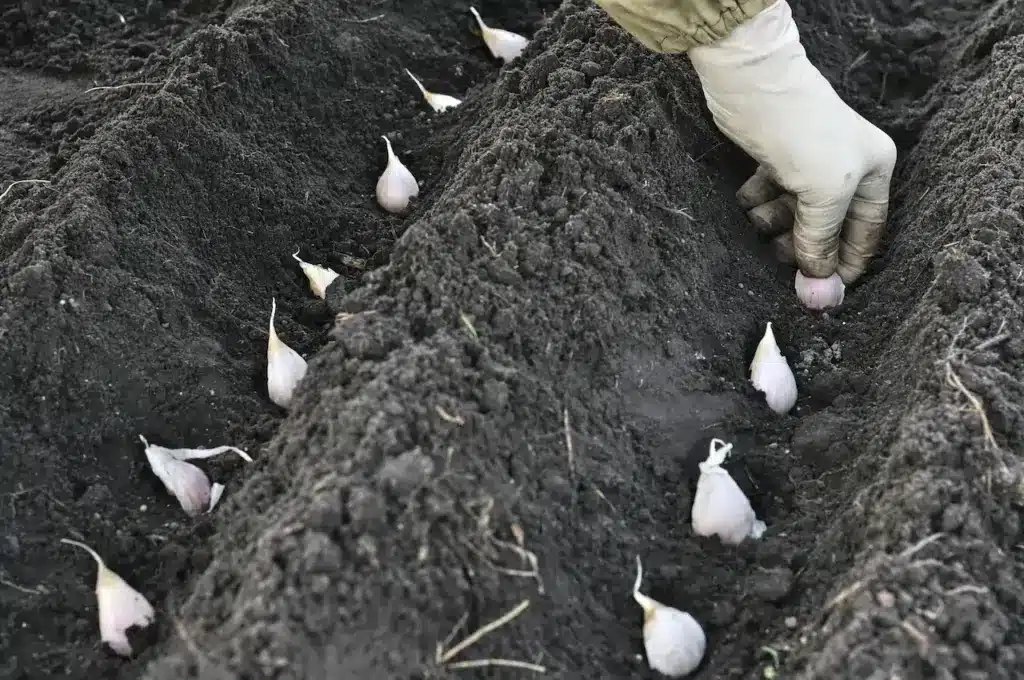
Use a trowel to dig parallel furrows 1 foot apart and 2 inches deep. Garlic cloves should be spaced 4 inches apart in the furrows. Cover them with soil and water to level the surface.
Don’t worry if you have to work in a space that is irregularly shaped. While keeping in mind the space between cloves you need to make sure that your holes are 2 inches deep. You can create any pattern with this technique.
In the spring, apply a nitrogen-based fertiliser, such as soybean meal, cottonseed meal or blood meal. You can also use composted poultry manure or other nitrogen sources that release slowly. Work the fertilizer lightly into the soil surface to allow the soil microbes to get to work releasing nutrients to the garlic.
You could also try a blend of organic fertilizer developed specifically for garlic. Fruition Seeds Company sells a blend of organic fertilizer that has been developed over time to promote bulb growth in the fall, and foliage in the spring. It is made up of alfalfa, kelp, feather and compost crumbles.
Wait until planting season to separate cloves and break up the head of garlic. You can do this by separating the cloves with your fingers. Keep the “paper” attached to the cloves and discard any that are damaged or have holes. Plant the largest cloves, which will result in the largest heads.
When planting cloves, always plant them with the pointed end up and the roots down.
Protect the garlic either immediately after planting or as soon as frost is anticipated. Apply a generous amount of mulch.
The loose straw will make a fluffy and insulating mulch. It should be spread in a 6 inch layer. Leaves shredded in 4 inch layers are also effective. In climates with warmer temperatures, where the ground does not freeze, 2 inches of organic material will do to keep weeds at bay and retain moisture.
Planting garlic where onions, garlic or other members of the Allium family have been grown recently is not recommended. Rotating where garlic is planted is important to avoid allium pests.
If you know the days to maturity of your variety, note it when planting. The days-to-maturity may not be exact, but will give you a good idea when to start looking for signs of garlic being ready to be harvested.
When And How To Harvest Garlic
Garlic planted in the fall may be ready for harvesting as early as June or May. Harvest time in the North will be between mid-July and as late as mid-August.
As garlic reaches maturity, the foliage that runs up the stalk turns yellow, then brown. This happens from the base of the plant upwards. The leaves start to lose their vitality and begin to flop. This is an indication that your garlic will be ready to harvest.
The common belief is that garlic is ready once the first four leaves have turned brown, starting at the bottom. It is approximately a third the height of the stalk. Once at least half your garlic plants have reached this stage, stop watering them for a week and then pull up one bulb to test.
The plant can be damaged if you pull the bulbs from the soil too forcefully. Use a garden fork or trowel to loosen the soil surrounding it before pulling up the garlic. The bulb should then come out easily.
Repeat the test if the first bulb is smaller than expected. Water the garlic, give it another week to grow and repeat. Remember that the smaller cloves will not produce bulbs as large as the largest cloves.
If garlic cloves are left in the soil for too long, they will start to separate. The protective skin can also crack.
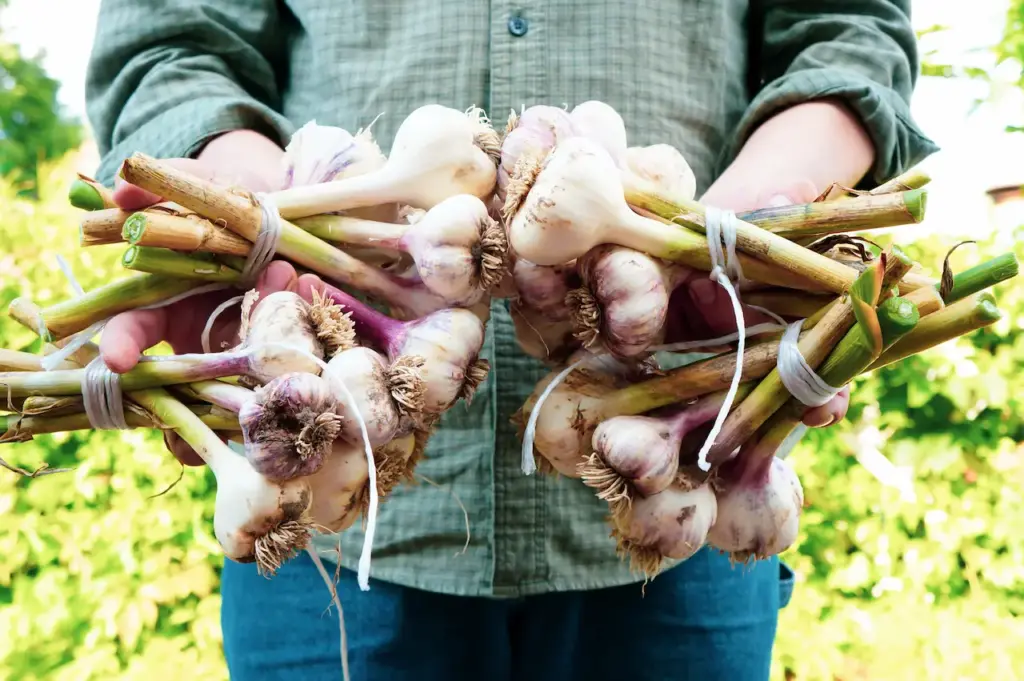
Do not remove the roots or stalk when garlic is dug up. If you want to store garlic, it must be cured first. Otherwise, its shelf life will be very short.
Curing and Storing Garlic
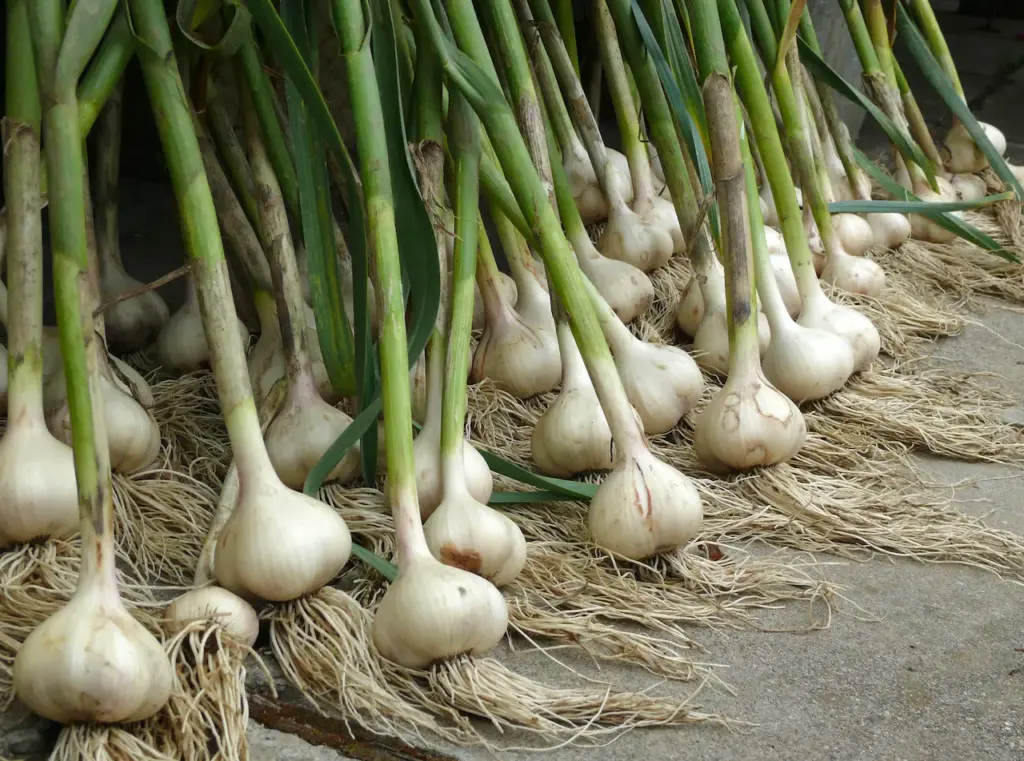
Do not wash or scrub the garlic after it has been removed. At this stage, keep the whole plant intact and do not let it get soaked. On a warm and dry day, garlic can be left outside to dry. Avoid temperatures above 90 F or bright sunlight. If it’s raining, bring the garlic inside immediately.
Curing will harden the bulb, prepare it for storage and improve the flavor.
Garlic plants can be hung or placed on wire racks in a garage or house that is well ventilated and away from direct sunlight. It is important to space them out so that air can circulate and the garlic dries faster. (Run a fan if you can.)
The outer skin on each garlic head should be papery and dry after 10-14 days. The stalks may be removed and composted at this stage. The stalks of softneck garlic can be braided with the stalks.
It is best to leave the heads intact until you need cloves.
Keep garlic in a dark, dry place to prevent sprouting. It is best to use a paper bag or a Garlic Keeper Jar with ventilation holes. Garlic should never be placed in an airtight bag or plastic container. Mold can grow if moisture is trapped.
Garlic will last at room temperature, provided the room is dry. This can be one to two months. Garlic will last the longest at cooler temperatures. To prevent moisture accumulation, store garlic at relative humidity between 60 and 70%.
You can continue the cycle of improving your garlic by planting the largest cloves each year.