Building a Compost Bin Using Shipping Pallets
How to Make a Compost Bin Using Shipping Pallets?
In my years of composting, I have tried almost every method. I’ve tried everything from an open pile in my backyard to expensive double-bin devices that have cranks and gears. Pallet compost bins have become my preferred method. The pallets are also free.
Composting is also one of the easiest and cheapest ways to make a lot of compost. After ten years, I am still so happy with it that I don’t plan to use anything else.
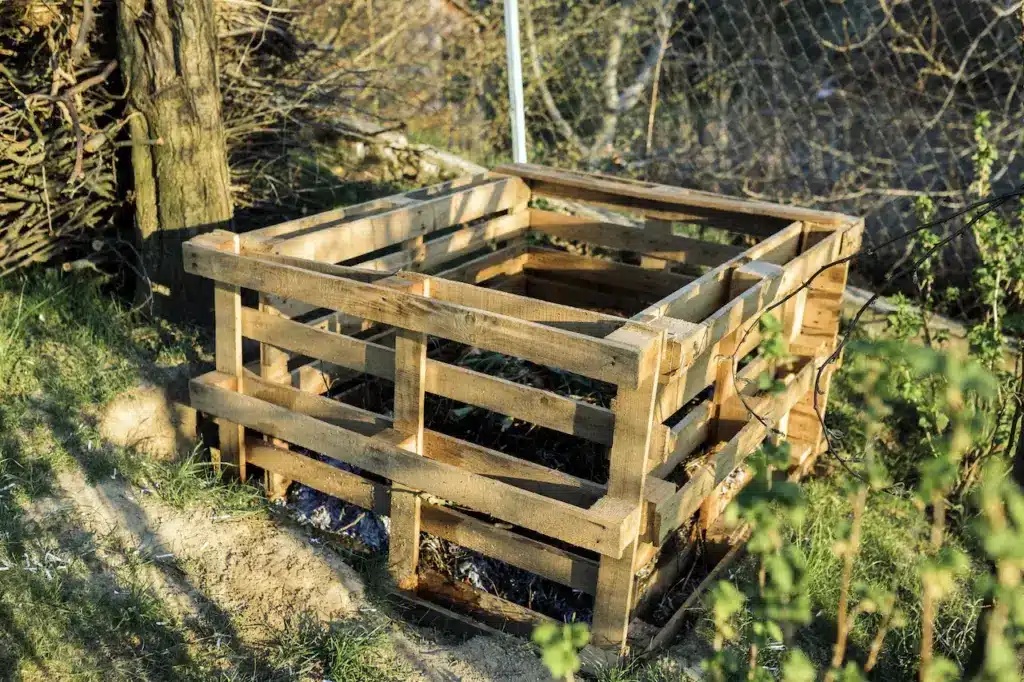
Pallets can be used to build a composting bin. It is a simple project that makes great use of these items. Although you could build a single bin, I do not recommend it. You need two sections to make the compost so that you can keep the finished compost separated from other inputs.
- If you have enough space, I recommend you build a 3-bin storage system. This system only uses seven pallets, compared to three pallets for a single-bin system. It makes a huge difference in the amount of material you can use and make.
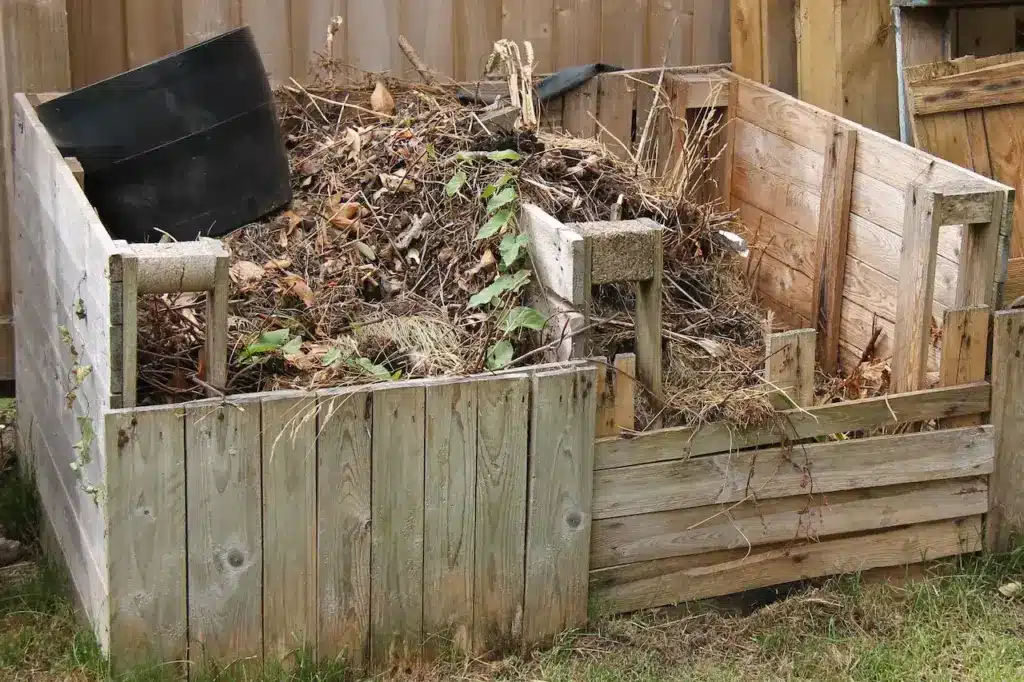
- Use the first bin in a three-bin system for your contribution. Continue adding new ingredients until your bin is almost full.
- Fill the bin in the middle with the latest ingredients. Continue adding ingredients to this section, until it is almost full.
- The third bin can be used in the same way as the first two. By having three sections, you can always have compost at different stages of decomposition, whether it is new, in-process or finished.
- The first bin (original bin) should be ready for use as compost once it is filled. After the first bin is used up, you can use the second one.
Building a Compost Bin Using Shipping Pallets
How to make a 3-section compost bin using free shipping pallets
The assembly is simple and intuitive. Seven pallets are required, along with an all-weather deck screw (3-inch length ideal) and the drill bit.
Build your bin on the surface you intend to leave it on, preferably a flat one. Pallets are divided into seven parts: two pallets for each bin, one pallet for each wall and three pallets for the back.
- Attach a pallet to the bin’s backside using several screws.
- Add one of the inner pallets, which will act as a divider between each section. It should be secured to the first pallet at the back with a few screws. When attaching this inner pallet to the rear, be sure to offset it. This extra space is needed to attach the middle and back pallet sections to the divider.
- Add the next pallet in the middle to complete the backside. Attach it to the diving palette you added in step 2 (using the offset area mentioned in step 2) Work your way through the other four pallets in the same fashion.
Remember these important considerations before you begin this project
- Choose pallets that have not been treated chemically. Heat treatment is the most common method of treating pests and pathogens. If you can, choose heat-treated wood or virgin wood.
- Pallets are available in different sizes. Although assembling your compost bin using pallets of mismatched sizes may work, this system prefers that they all be the same size. This makes the finished product look better and is easier to assemble.
- Pallets come in different wood types. Pallets made of rot-resistant hardwoods, like oak or cedar, are ideal for compost bins. Although pine is easy to come by, it’s not as durable or as resistant to the elements. Hardwood is the best choice for strength and durability.
My compost bins were made using virgin, untreated hardwood pallets measuring 4’x4″. They last for many years despite constant exposure to moisture and the elements.
The options. In my first version, I liked having a lid over the bin to hold the finished compost. It was unnecessary but in my initial version, it seemed nice. My improvised compost bin was made from a sheet of corrugated cardboard that I cut to size and screwed onto a 2×2 pine frame.
Pro tip: Consider purchasing an extra pallet to store additional parts. I removed the slats and placed them between the other slats in my bins to fill some gaps. This is a simple and smart fix that will help you keep more compost in place.
If you decide to do this, you should find a way of making the top moveable, since each section will eventually house composted material. It’s important to know that I don’t do this anymore. The weight of the accumulated snow or rain will cause the cover to sag unless it is reinforced. It’s also not necessary.
Add a 2×4 treated on the backside, and secure it to the panels. It is an inexpensive and simple way to strengthen the system.